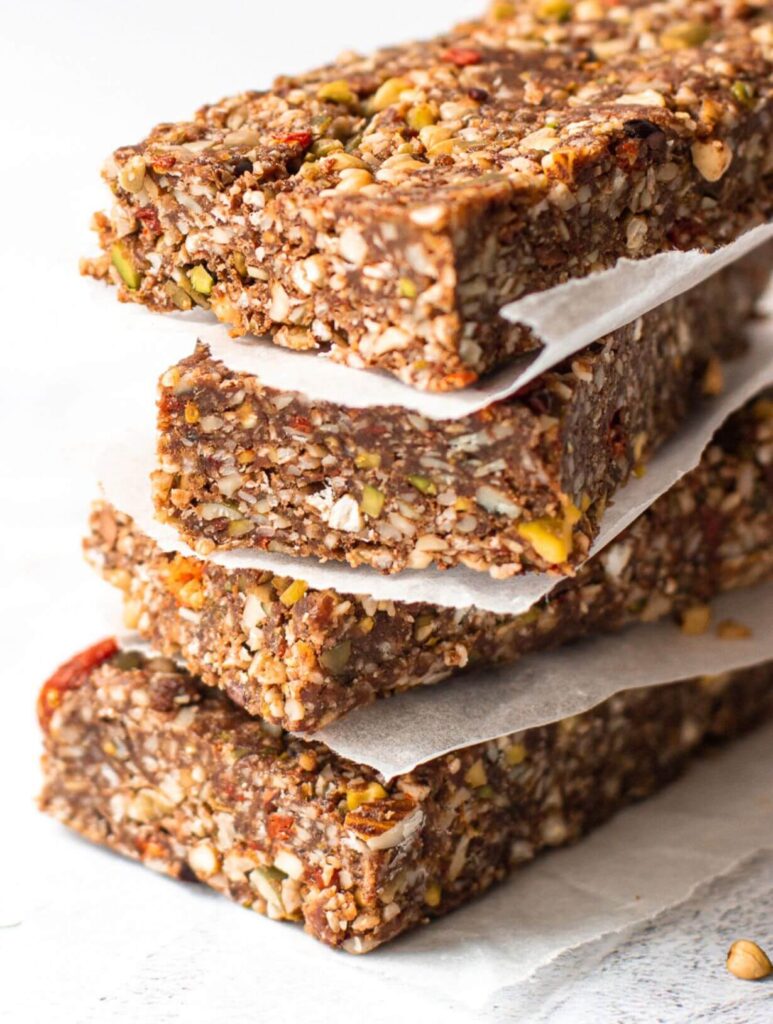
These healthy no-bake power bars are crammed with all the goodness. Forget about loaded-with-sugar shop-bought muesli or cereal bars and make these instead! Also, if you need a snack to fuel a workout, look no further… loaded with energy-dense nuts & seeds, they aren’t called power bars for nothing!

No-bake power bar ingredients
- Extra virgin coconut oil: To bind the bars – if your bars aren’t coming together, add a little extra. Use olive oil if you don’t like coconut oil.
- Medjool dates: These fudgy dates add sweetness and help bind the bars.
- Gluten-free oats: Use gluten-free oats especially if you’re following a gluten-free diet as oats are easily contaminated. You can also use quinoa flakes or buckwheat flakes.
- Sunflower seeds: Use sunflower seeds or any seed that you prefer.
- Pistachio nuts: I love pistachios but feel free to use your favourite.
- Cocoa powder: For a chocolate flavour.
- Cashew butter: Use a smooth, well-stirred cashew butter.
- Pure vanilla extract: For its subtle sweetness.
- Sea salt: Don’t leave this out, it helps enhance the flavour of the other ingredients.
- Goji berries: These add tartness to the bars, which is a nice contrast to the sweeter ingredients. You could switch these for sour cherries or cranberries.
- Cacao nibs: These add a bitter, rich chocolate crunch.
How to make no-bake power bars
No-bake power bars are incredibly simple to make – you’ll spend most of your time impatiently waiting for them to firm up in the freezer. Don’t skip this step because you’ll have a lot of crumbs on your hands! Not cool.
Before you get started, line a lightly greased 15 cm x 20cm (6 inch x 8 inch) tin with plastic-free baking parchment. I use this Battenberg tin, because it’s the ideal size for power bars and brownies, I just remove the dividers. Then follow these two simple steps:
- Process: Place the coconut oil, dates, oats, sunflower seeds, pistachios, cocoa powder, cashew butter and vanilla extract and process until the mixture just comes together – it should be very roughly chopped, but not completely smooth. Remove the blade, then add the goji berries and cacao nibs and mix to combine.
- Chill: Press the mixture firmly into the prepared tin (it will come together as you press it down) and freeze for 30 minutes, or until firm. Cut into thick bars.
That’s it! To remove from the tin I just run a palette knife around the edges, between the parchment paper and the tin, before turning out and cutting into bars.
Storage
You can store no-bake power bars in an airtight container in the fridge for up to three weeks or the freezer for up to three months. I recommend separating the bars between layers of plastic-free parchment paper to stop them from sticking together.

More no-bake recipes to try
I hope you enjoy this no-bake power bar recipe. If you make it, let me know how it turned out. I’d love to hear what you think in the comments below, or post in The Fertility Kitchen Community.
No-bake power bars
Ingredients
- 70 g extra virgin coconut oil melted
- 10 medjool dates, pitted
- 125 g gluten-free rolled oats
- 35 g sunflower seeds
- 20 g pistachio nuts
- 3 tbsp cocoa powder
- 60 g smooth cashew butter
- 2 tsp pure vanilla extract
- Pinch of sea salt
- 2 tbsp goji berries
- 2 tbsp cacao nibs
Instructions
- Line a lightly greased 15 cm x 20cm (6 inch x 8 inch) tin with plastic-free baking parchment.
- Place the coconut oil, dates, oats, sunflower seeds, pistachios, cocoa powder, cashew butter and vanilla extract and process until the mixture just comes together – it should be very roughly chopped, but not completely smooth. Remove the blade, then add the goji berries and cacao nibs and mix to combine.
- Press the mixture firmly into the prepared tin (it will come together as you press it down) and freeze for 30 minutes, or until firm. Cut into thick bars.
Notes
- Store in an airtight container in the fridge for up to three weeks or the freezer for up to three months.
comments +