Kale crisps are the perfect healthy snack and hit the spot when you’re craving something savoury. They’re light, crispy, nutrient-dense and very easy to make. If you’ve never made them, give them a try!
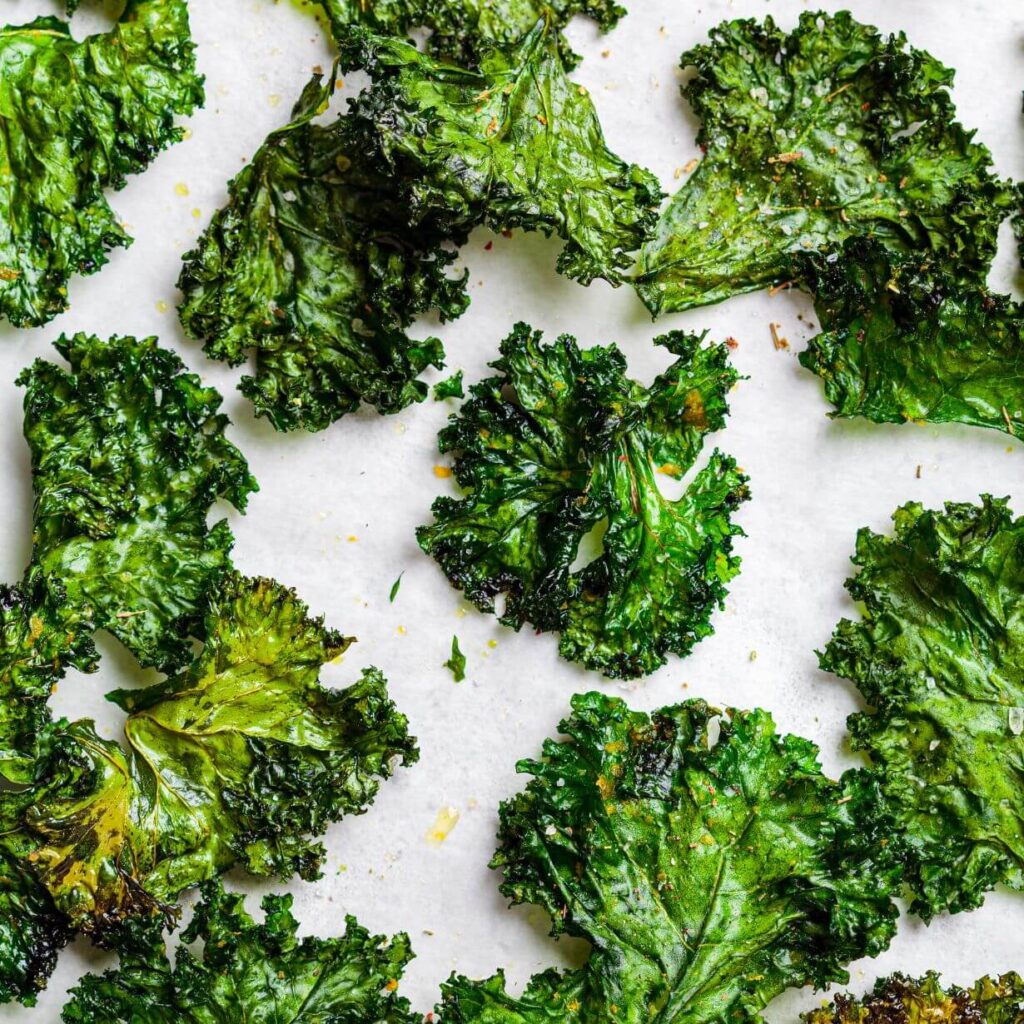
Kale crisps
Kale crisps are a nutrient-rich, healthy snack. They’re delicate, thin crisps made from kale, kind of similar to nori seaweed crisps. They are pretty good at satisfying the munchies for some salty or savoury.
Kale is loaded with antioxidants so it’s a great leafy green to include in your fertility diet. It’s a rich source of vitamin C and top source of vitamin K1. So it’s worth making a batch of these tasty kale crisps!
Kale crisp ingredients
You only need 3 ingredients to make kale crisps:
- Kale: Kale is a cruciferous vegetable and member of the cabbage family, as well as curly kale you can also get Cavolo nero (also know as black kale or Tuscan kale), both are readily available in the supermarket and both work for kale crisps.
- Olive oil: Use a good quality extra virgin olive oil such as Erbology. Use the code charlotte15 for 15% off your order.
- Seasoning: If you want to keep things simple, then sea salt is all you need. Otherwise pick something from the list below.
How to make kale crisps
Kale crisps are simple to make, here are the basic steps:
- Remove the kale leaves from the stem.
- Wash the kale and thoroughly dry it; I use a salad spinner and then transfer to a baking tray lined with kitchen roll and pat dry.
- Tear the kale into larger bite-sized pieces.
- Massage the kale with a drizzle of olive oil until well coated.
- Lay the kale flat on a baking tray and bake at 150°C (300°F) for 8-15 minutes. Rotate the tray once halfway through.
Top tips for successful kale crisps
- Don’t burn them! Even slightly overcooked kale crisps taste horrible, so cook them at a lower temperature for longer. But watch them like a hawk! Especially after around 8-10 minutes.
- Don’t use too much oil. The key to crispy kale crisps is to make sure the kale is totally dry after you’ve washed it. You also don’t want to drown them in oil – a drizzle will do.
Seasonings and flavourings
Kale crisps can be plain or tossed and sprinkled with a variety seasonings for a flavour boost. Just add your choice of seasoning with the oil prior to cooking. Here are a few ideas:
- Just plain: Sea salt
- Garlicky: Garlic powder or garlic salt
- Cheese and onion: Nutritional yeast (for a dairy-free cheesy flavour) or parmesan and onion powder
- Spicy: chilli powder
- Mustard: mustard powder
- Curry: Curry powder
- Mexican: Mexican spice mix or chipotle and paprika
- Cajun: Cajun spice mix
Serving suggestion
Kale crisps are delicious garnish for soup:
More veggie recipes to try
I hope you enjoy these delicious kale crisps. If you make them, let me know how they turned out. I’d love to hear what you think in the comments below, or post in The Fertility Kitchen Community.
Kale crisps
Ingredients
- 4 kale stalks washed, thoroughly dried and torn into pieces
- 1-2 tsp olive oil
- ¼ tsp sea salt
Instructions
- Preheat the oven to 150°C (300°F). Line a large baking tray with plastic-free baking parchment.
- Place the kale pieces in a large bowl. Drizzle with the olive oil and gently massage the kale until all pieces are lightly coated.
- Spread the kale on the prepared tray in an even, single layer and cook for 8-15 minutes or until crisp. Turn the tray once halfway through and check the kale crisps frequently from 8 minutes onwards to prevent burning.
- Leave to cool slightly before serving.
")
v2")


comments +